Install Python Packages on Databricks
Let’s use the same basic setup as in test python code, then use our knowledge from create python packages to convert our code to a package. And finally we will install the package on our Databricks cluster.
 ⟶
⟶ 
Basic Setup
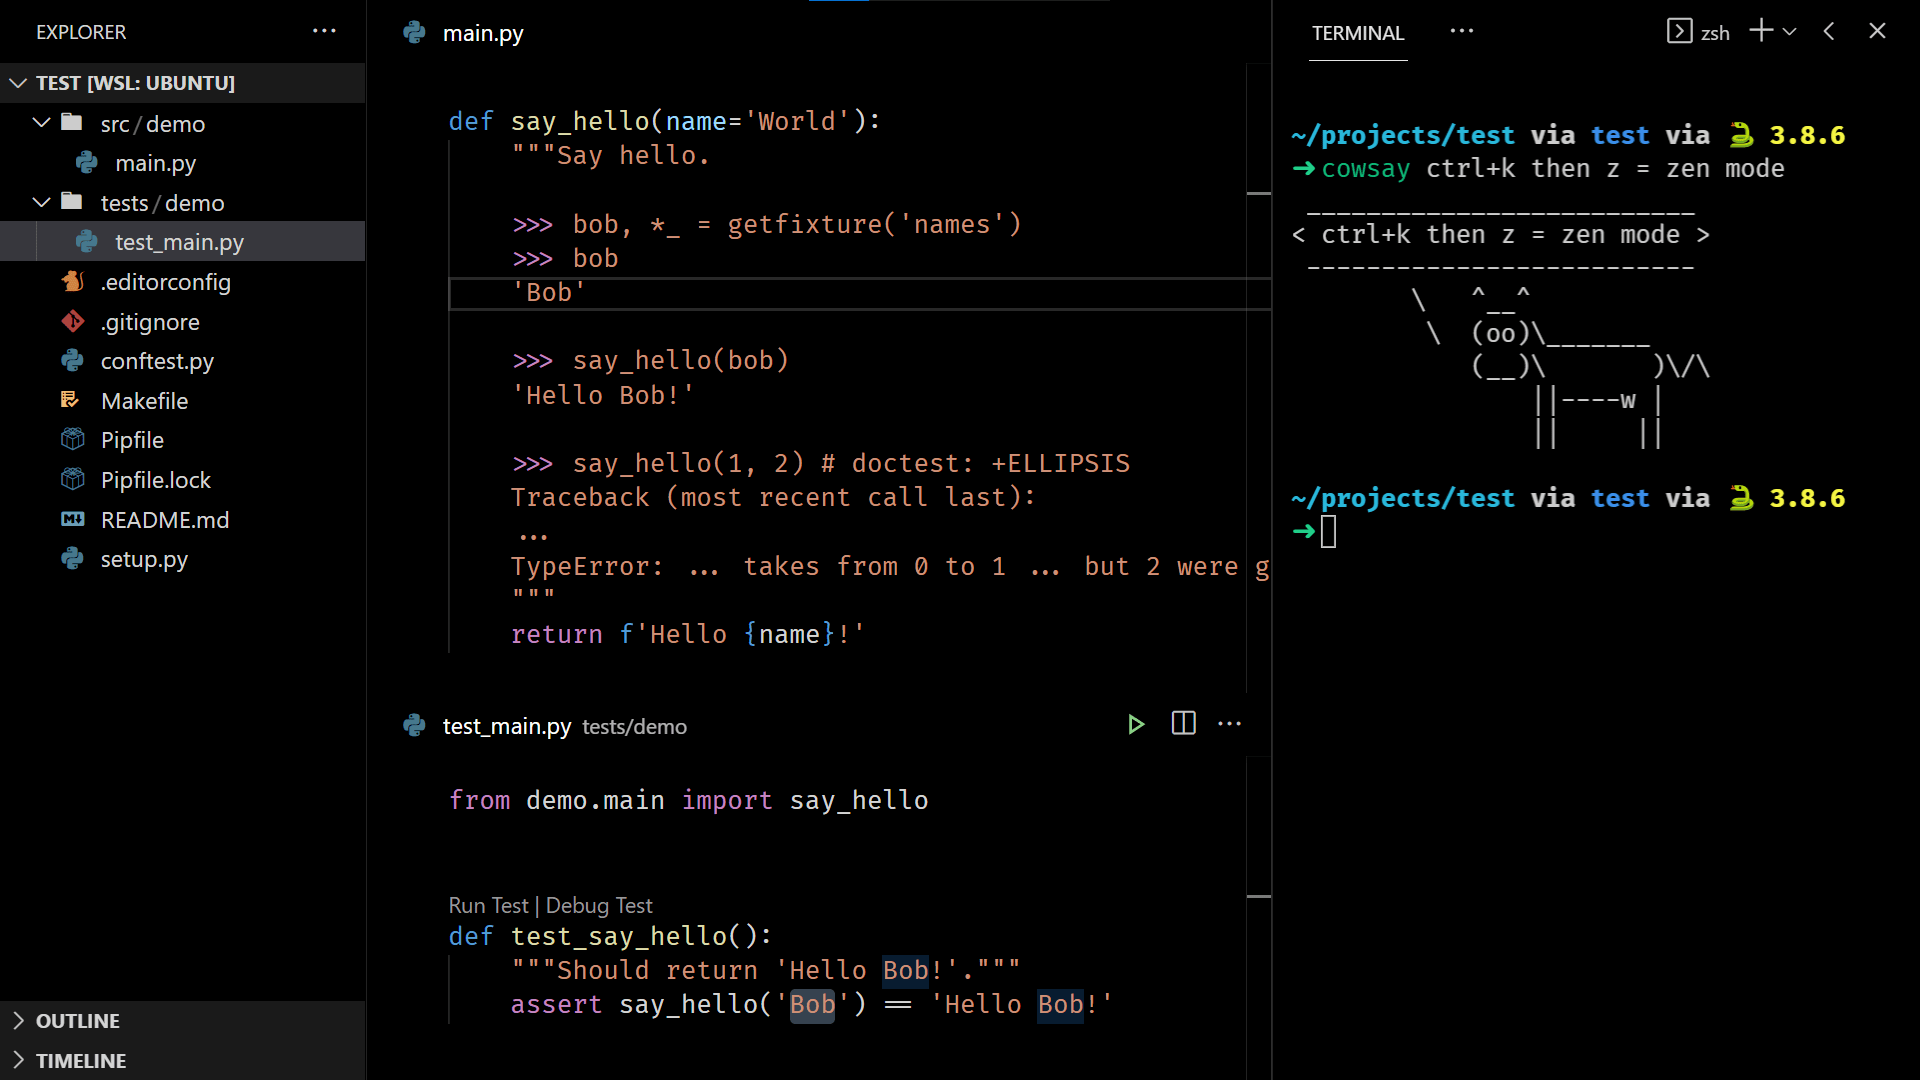
Following the previously mentioned posts, we’d have a setup that looks like this:

Manual Package Installation
Insert the following snippet at the top of your Makefile:
.EXPORT_ALL_VARIABLES:

WHEELNAME=demo-0.0.dev0-py3-none-any.whl
CLUSTERID=0123-456789-moose123  # update this line to match your cluster id
And append this snippet at the end of your Makefile:
install-package-databricks:
	@echo Installing 'dist/${WHEELNAME}' on databricks...
	databricks fs cp dist/${WHEELNAME} dbfs:/libraries/${WHEELNAME} --overwrite
	databricks libraries install --whl dbfs:/libraries/${WHEELNAME} --cluster-id ${CLUSTERID}
Run the make build command in your terminal. Confirm that the file dist/demo-0.0.dev0-py3-none-any.whl has been created:
➜ make build
...
➜ ls dist
demo-0.0.dev0-py3-none-any.whl
Finally, run the new make install-package-databricks command in your terminal.
Note if you see the error: databricks command not found, it means that you haven’t installed the databricks cli yet. Open a new terminal, and make sure that you’re NOT inside a virtual environment. Run
pip3 install databricks-cli, to install the cli tool globally.
Note if you see the error: Error: InvalidConfigurationError: You haven’t configured the CLI yet!, it means that you need to run
databricks configure --tokencommand. In your Databricks workspace, under User Settings, generate a new Access Token. Paste the token into your terminal after running the previous command.
Browse to your cluster libraries page, you should see that the package is being installed:

DevOps Package Installation
Follow section 5. build the artifact and 6. copy package to dbfs of my previous post to create a build and release pipeline in Azure DevOps, in order to automate the manual steps that we’ve just taken.
Running the Package on Databricks
After installing, make sure that your package works. For me it does 👌


